For many of us, when we think of creating a custom enclosure, our minds immediately go towards our 3D printer. A bit of time in your CAD program of choice, and in an hour (or several), you’ve got a bespoke plastic box. A hacker’s dream come true.
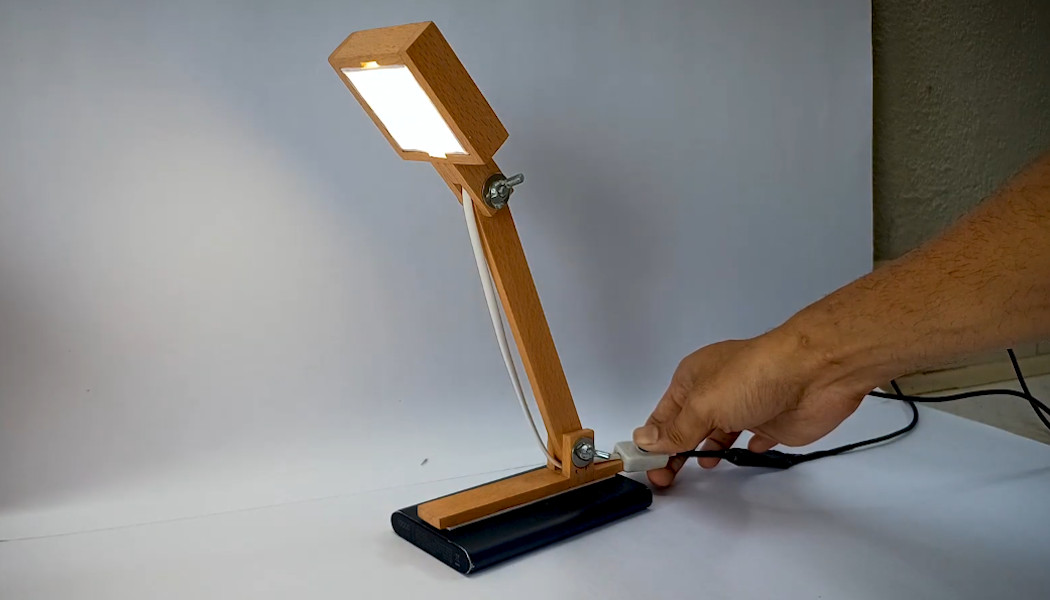
But extruded plastic is hardly perfect. For one thing, you might want a finished piece that looks a little more attractive on your desk. Which is why we appreciate this quick hack from [Tilma]. When faced with a broken LED light and minimal equipment, he decided to transplant the repaired electronics into a scratch-built wooden frame that not only looks better than the original, but is more functional.
 100vw, 400px”></a><figcaption id=) Fitting the LED board into the new wooden frame.
Fitting the LED board into the new wooden frame.The video starts with a teardown of the original light, which was a flexible affair meant to plug directly into a USB port. [Tilma] found that the reason it failed was because of a broken solder joint, presumably due to repetitive motion. Of course, to find this failure he needed to cut away the rubbery sleeve it was encased in, hence the need for a new home.
After tacking on some longer wires to the driver board, [Tilma] connected an external button that he thought would last longer then the stock membrane affair on the PCB. Once it was confirmed that the light worked with the modified electronics, the rest of the video covers how the wooden components were assembled using hand tools. Compared to the high-tech gadgetry we cover on a daily basis here, there’s something refreshing about seeing a person working with chisels, clamps, and rulers.
We think the final result looks quite nice for as simplistic as it is, and is unquestionably more practical than a weird little light bar that sticks out from your USB port. If you’d like to add a bit of woodworking to your bag of tricks, [Dan Maloney] covered some of the basics for us several years ago.